Okay, continuing on, let's can some diced tomatoes! The first thing I do is weigh them so I have a rough idea of how many jars I will need. A really (REALLY!) rough rule-of-thumb is one pound of tomatoes = 1 pint canned (processed tomatoes only -- not tomato sauce).

You can see a few of the blemished tomatoes near the front of the red bowl. We'll cut blemishes out when we core the tomatoes. I've got about 8 1/2 pounds of tomatoes altogether. Next, get the equipment assembled and ready to go.

A word about the jars I'm using here: the four taller jars are commercial pasta sauce jars and are NOT actual canning jars. They are not made for home canning and are not recommended for such, however the two-piece snap lids fit them perfectly and I find them a handy size (750ml or 1-and-a-half pints) for things such as diced tomatoes which I used to buy in the large 786ml cans. That said, I must issue the disclaimer to use them at your own risk. I have yet to have a problem with them, although that is hardly an endorsement, and I would not use them for pressure canning where the risk of cracking or breaking is greater.
On the stovetop I have 3 pots. On the right front burner is my blue enamel canner. The left front burner has one of my soup pots. This will be used to first boil water in to blanch the tomatoes and then later heat the diced tomatoes to boiling before ladling them into the hot jars. This is known as the hot-pack method (i.e. filling hot jars with hot food). Some folks like the cold-pack method where raw food is packed into the hot jars and then covered with hot liquid (like boiling water, hot stock or juice, for example). I like everything to be hot. The small saucepan behind the soup pot will hold simmering water to soften the rubber rings on the lids.
So, now that everything is ready to go, we can start processing the tomatoes. This does get rather tedious after a while, so before I start, I like to throw on some great tunes to keep me going!

Use a good sharp paring knife and circle the stem end, cutting out the core. If you find any blemished parts, just cut them off. You'll probably end up with a few odd shaped tomatoes, but it won't matter since they are all going to be diced. At the other end of the tomato, cut a little 'x' with the knife. You don't need to go deep -- just break the skin. This will help in removing the skin after blanching.

Et voilà! Eight and a half pounds of tomatoes, trimmed and cored. A half-pound was lost in the process, so we're down to eight pounds even.
As I mentioned above, my rough "guesstimating" rule says 1 pound = 1 pint, so for 8 pounds I will need 8 pint jars. However, I am re-using commercial pasta sauce jars, which are 1.5 pints, so 8 ÷ 1.5 = 5.3333... which means I need 5 and one third commercial sauce jars.

So, I will prepare 5 commercial jars (like the one on the left, above) and for the one-third, I will use a pint canning jar (above, right). I usually err on the side of caution and prepare an extra jar just in case there's more processed product than I thought, but in this case, I think I will be alright with the pint jar to hold the one-third and any extra. We will see!
Now, let's get the water bath and jars ready so they can be heating while we blanch and dice the tomatoes.

If you just brought your jars out of storage, you might want to wash them in warm, soapy water first. Place the rack on the bottom of the canner and arrange the jars and the rings (not the lids themselves!) on the rack. Fill the canner with hot tap water, cover and bring to a boil on high heat.
If you look closely at a lid, you will notice a little raised "button" in the center.

It's really difficult to make out in this photo, but notice how the center of the lid has a little bump? This is your sealing indicator. What happens in the canner is the contents of each jar will eventually reach the boiling point, creating steam under the lid which forces out the air, creating a vacuum. When a jar is taken out of the canner after processing and begins cooling, the vacuum inside the jar draws the lid downwards and sucks the little button in, making a little "ping" or "pop" -- a most satisfying sound! Nothing makes me happier after a long afternoon of canning than to hear that chorus of "pings" telling me my jars have sealed.
To ensure that seal happens, each lid has a ring of rubberized gum running around the perimeter of the underside and this gum needs to be softened in hot water so it grabs on to the rim of the jar. So, let's get a small saucepan ready with some hot tap water and put the lids in it to heat on low. The lids should not be brought to a boil, just a gentle simmer will do.

Now that we have our canner prepared, let's get set up to blanch and peel the tomatoes.

First, let's fill a large soup pot half full with water and get it boiling.

While the water is coming to a boil, fill a large bowl with cold tap water and add some ice cubes. I like to pick up a bag of commercial ice when I do canning projects that require blanching and peeling (like tomatoes and peaches, for example) so I can just grab a handful of cubes from the bag and refresh the ice water bowl as I go.

Another large pot to receive the peeled tomatoes, a platter to receive the skins and a slotted spoon for transferring the tomatoes from the boiling water to the ice water.
So, let's start. In they go -- 30 seconds max...

... and in they go again...

You should see the skin wrinkling in parts and pulling away from the flesh of the tomatoes. Grab an edge of the skin and gently pull.

The skin should just slide off. In some spots where the flesh isn't perfectly ripe, the skin may be more difficult to remove and may require a little scraping or digging with your fingers and/or a paring knife, but for the most part the skins should come off easily. I find that working with batches of 8-10 tomatoes at a time is the most manageable. Once I slip the tomatoes into the boiling water, 30 seconds gives me just enough time to go to the freezer, grab a handful of ice cubes and add them to the ice water bowl. Then, by the time I've moved the tomatoes to the ice water and removed the skins, most of the ice has melted and the boiling water is back up to full boil to receive the next batch.

A pot of peeled tomatoes ready for dicing and a platter of skins. I pack the skins in a freezer container to use later for making vegetable stock. Let's get busy now and dice those tomatoes!


Since I was dicing, I thought it would a great time to show the difference between the two main types of tomatoes I'm canning. The top photo shows one of the plum-type tomatoes being cut into approximately 1/2 inch dice. The bottom photo shows the difference between plum-type tomatoes and globe-type tomatoes. The Roma tomato on the left is a plum-type and is smaller with thicker walls and a smaller seed cavity than the Black Brandywine on the right, which is a globe-type tomato. Globe-type tomatoes generally have more juice and seeds and are nicer for eating than the plum-types which are denser, meatier and are better for making sauce and tomato paste.

The pot of diced tomatoes starting to heat on the stove. The Black Brandywines have released a fair amount of juice already, but it is essential to keep stirring frequently as tomatoes are notorious for sticking to the bottom of the pot and burning in the blink of an eye! Bring them to a gentle boil.
Meanwhile, the canner should be merrily boiling away by now. Most trusted canning guides (which I am NOT!) will tell you to boil your jars for at least 10 minutes to sterilize them. Well, the canner has definitely been boiling for more than 10 minutes, so I think we're good to go! Let's get the filling station prepared.

Notice the bottle of lemon juice. Only high-acid foods can be safely canned in a boiling water-bath canner. This basically means fruit and pickles. Tomatoes are border-line acidic and may be made acidic enough for water-bath canning with the addition of lemon juice. Bottled lemon juice is used rather than fresh because the bottled juice has a standard level of acidity. One tablespoon per pint or two tablespoons per quart is all that is required and the lemon juice is undetectable in the tomatoes.

Let's retrieve the sterilized jars from the canner.


Use the magnetic wand to retrieve the lid rings:

Give the tomatoes a quick stir:

Put the funnel in the first jar and ladle in the first of the tomatoes:

Add the lemon juice. For these jars it's one-and-a-half tablespoons:

My apologies for the blurry photos! It's hard to take a picture with one hand while canning with the other! Hopefully, with practice I will improve. I like to add a ladle of hot tomatoes first and then add the lemon juice to avoid adding cold lemon juice to a hot jar and maybe cracking it.

Fill the jars, leaving a half-inch headspace. Headspace is the distance from the very top of the jar to the top surface of the food. It's required in this case to allow steam to develop under the lid to push out the air and create a vacuum that seals the jar.

Run a clean paper towel around the rim of each jar to clean off any residue. This will help ensure a nice tight seal.


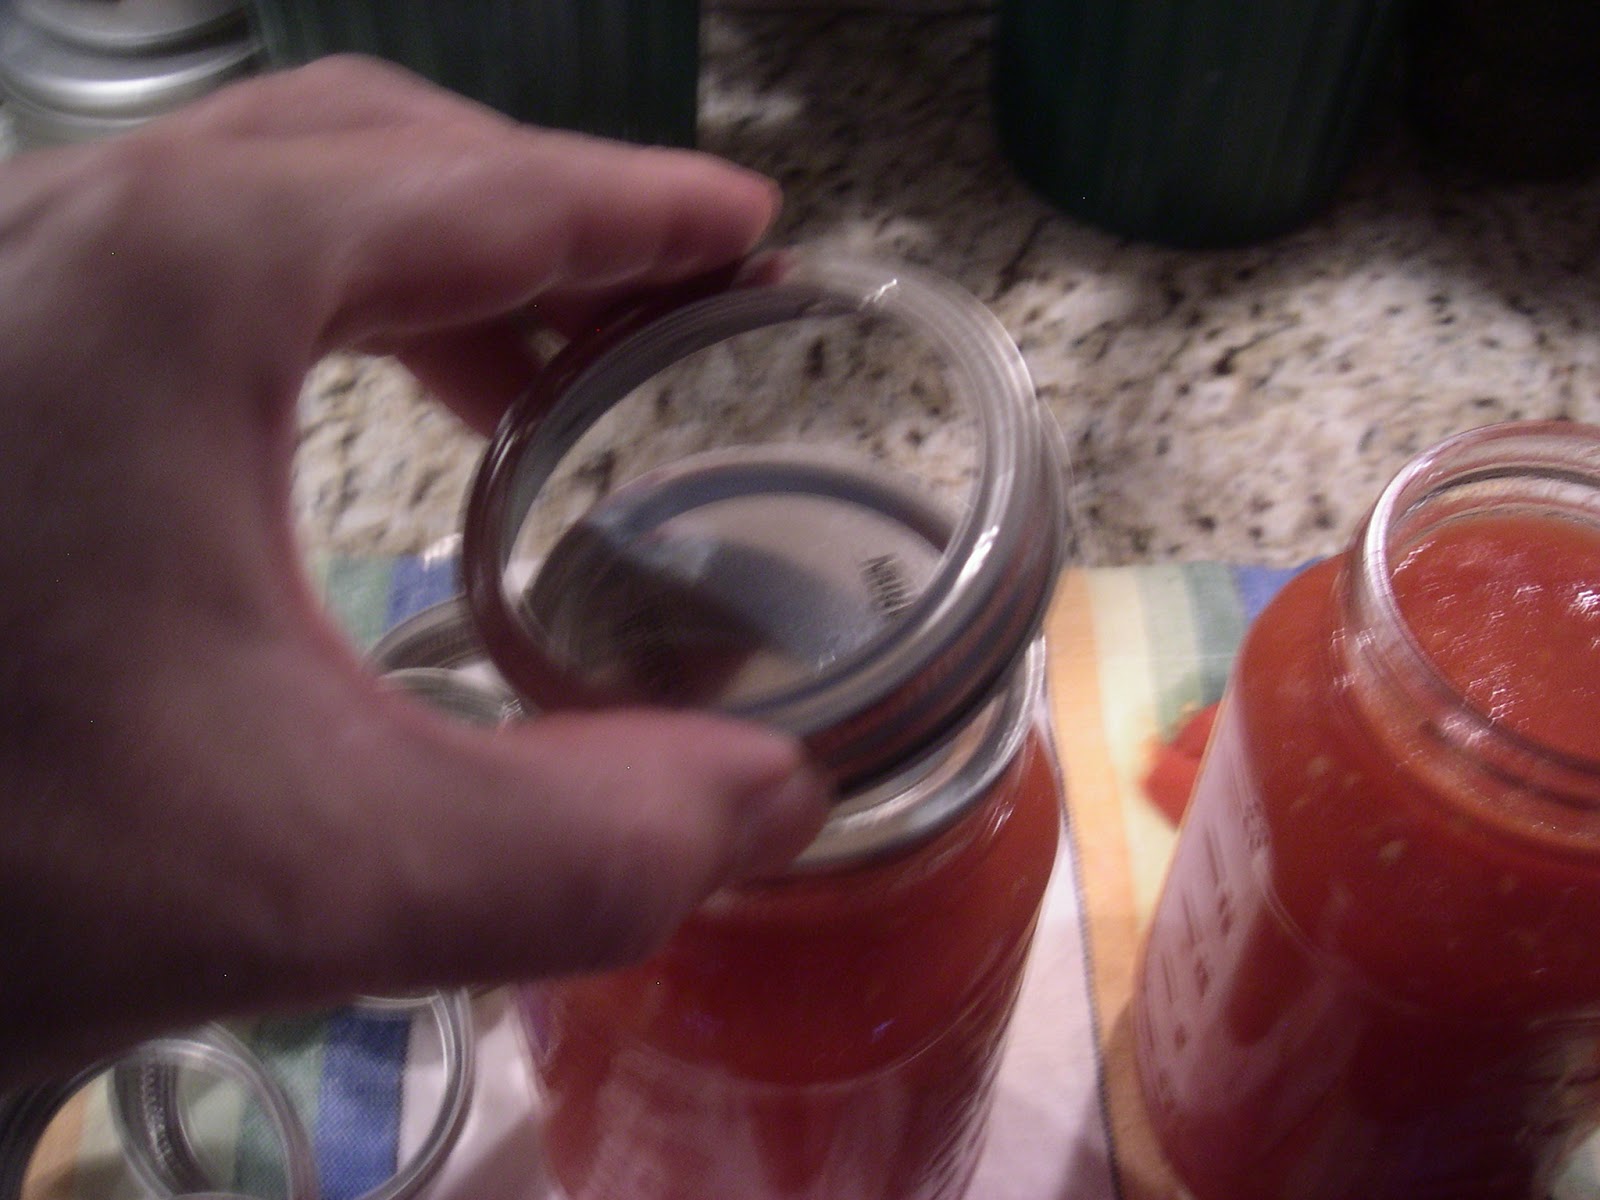

Use the magnetic wand to retrieve a lid, center it on a jar then apply the ring (also called a "band") and fasten it finger-tight. Don't over-tighten -- just until your fingers meet resistance.

Exactly five jars??? This NEVER happens! Looks like I won't need the pint jar at all!
So, into the canner the filled jars go:


Cover and bring back to a full rolling boil:

Start timing only once the canner is back to a full rolling boil. Count 40 minutes for pint jars or 60 minutes for quarts. Since I am using jars that are in-between, I will err on the side of caution, pretend they are quarts and count for 60 minutes. Better too long than not long enough! And I always leave the canner for a few minutes after turning off the heat before I take out the jars to let things settle down to minimize siphoning and promote better sealing.

The aftermath!

Again, it's rather difficult to see in this photo, but this jar just "pinged" to say that it has sealed. There is a very slight dark spot right at the center of the lid and this is the shadow of the divot that is now there where the button used to be. The vacuum has pulled the button down towards the jar creating that lovely "ping" and the even lovelier jar seal. As an additional test, try pressing down on the center of the lid with your finger. If there is any movement or give, the lid has not sealed. If it is solid and does not move, it's sealed. One further test is to remove the ring and try lifting the jar an inch or two off the counter by grasping the edge of the lid with only your fingertips. If the lid stays on, it sealed. If not, well, obviously it didn't.
Should any of your jars not seal, you have a couple of options. One is to keep the jar(s) in the refrigerator and use the contents with a week or two. Or, you can try re-canning the failed jars using new lids (lids can only be used once because the gum on a used lid probably won't seal again) and starting the water bath process again, softening the lids in hot water, cleaning the jar rims etc.
Sealed jars are shelf stable and should be stored away from light and heat. Cupboards, closets, basements are all excellent choices. Jars are at their best up to a year after canning, but do last much longer, however taste and colour will begin to fade over time.

The reward! Let them cool overnight on a folded tea towel. Notice that the tomatoes have congregated at the top of the jar, leaving clear tomato water at the bottom. If you gently shake the jars (after letting them completely cool, of course!), you can re-integrate the tomatoes and their water if you hot packed them. Never having gone the cold-pack route, I can't vouch for it, but I have read accounts of things separating again, so if any of you have had experience with this, please let me know.
No comments:
Post a Comment