Well, after nearly 24 hours of slow simmering in the oven, just look at this lovely broth!
I removed as many large pieces of the turkey carcass as I could using tongs to lift them out of the broth and place them to drain in a colander placed over another large pot.
When there were only small bones and the vegetables left, I picked up the broth pot and tipped the whole thing over into the colander to let the broth collect in the other pot.

Leaving the bones and veg to drain and cool for a while, I started the set up for my first attempt at pressure canning! I've had my pressure canner, a
16-quart Presto, for a while now, but have not had a chance to use it until now. I must admit I was feeling a little nervous about it, but realized that most of it was just fear of the unknown more than an actual fear of pressure canning. I have read the manual that came with my canner several times cover-to-cover and I have also read numerous blog posts about pressure canning, many of which mention the initial newbie nervousness and how that (just like water-bath canning) if you follow the correct procedures there's no cause for concern. And, having put my faith in the good folks at Presto and successfully pressure canned my first batch, I can assure you it's true! It just takes a bit of practice and getting used to, but it's actually quite easy and nothing to fear.
The Presto manual very wisely suggests doing a trial run with only water and no jars in the canner so you can see and hear how the canner works before actually committing yourself to a canning project. So, while the broth drained and cooled, I did exactly that and took my canner for a trial spin.
After washing the canner and its lid with warm, soapy water to remove any manufacturing lubrication, the manual suggests putting 4 cups of water in the bottom of the canner. There are measuring marks on the inside of the canner (they're not visible in the above photo) and the bottom mark is 3 quarts, which is the standard amount of water to use when actually canning jars of food. However, for this test run, 4 cups is all that is needed since we won't be running the canner for very long.

This is the underside of the lid held over the canner to show the ridges and valleys around the edge that interlock with one another when the lid is properly attached. Note, too, the metal tab sticking inwards from the edge of the canner near the bottom of the above photo. There is a pressure lock built into the lid (actually it's directly opposite the black circular rubber plug you see in the lid above and not shown in the photo -- must work on my "mindful photography" skills!) that engages with this metal tab when there is pressure inside the canner. Essentially, what happens is the pressure lifts the pressure lock, pressing it against the metal tab and preventing the lid from flying off accidentally. The pressure lock also lifts above the top of the lid, so it's another visual indicator that the canner is pressurized.

When the arrow on the lid is aligned with the arrow on the canner handle, the ridges on the edge of the lid align with the valleys on the edge of the canner and vice versa. The lid can be pressed gently down into place.
The lid is rotated clockwise to align the lid handle with the canner handle, meshing the ridges and valleys and locking the lid onto the canner. The manual suggests using a fairly high heat, but to be careful of using the correct sized hob on a natural gas cooktop so as not to use one that is too hot which can potentially warp the bottom of the canner. So, I'm using the second-largest hob on my cooktop just to be safe.

Once the canner has heated and the water inside is boiling, steam will collect and raise the pressure, which raises the pressure lock. In the photo above, you can see the pressure lock lifted. It has also engaged with the metal tab on the inside edge of the canner as shown a few photos back, which acts as an additional safety latch. Note that there is not enough pressure to register on the dial gauge. This is because air is still being vented via the steam vent to the right of the gauge. Once there is a steady flow of steam coming out of the vent, the canner is left to vent for 10 minutes before the regulator is put on.


The regulator is weighted cap that sits loosely over the vent allowing pressure to build inside the canner. Once the pressure has reached a high enough level, the regulator will start to rock back and forth, letting out pressurized steam in small bursts. This keeps the pressure inside the canner at a constant level. You can also help regulate the pressure by adjusting the level of heat under the canner and the Presto manual suggests starting at a relatively high level of heat and then lowering it slightly as the needle on the gauge approaches the desired pressure level.
Oddly, the regulator that ships with the canner is a one-piece solid 15-pound weight. Many pressure canning recipes call for a 10-pound weight with 11 pounds on the gauge. This produces an internal temperature of 240ºF, which is enough to kill off the
Clostridium botulinum bacteria, whose spores are responsible for
botulism, among many other nasty bugs. Canning at 15 pounds of pressure would work (and is necessary for some recipes), but for a recipe that calls for 10 pounds, it's overkill and a waste of energy. Fortunately, Presto also sells an adjustable regulator that can be set for 5, 10 or 15 pounds. This is available for purchase separately and is well worth the $25 or so. However, why Presto doesn't just include this adjustable regulator with all its canners and forget about the solid 15-pound one is beyond me.

Here you can see the gauge is just past 10 pounds. I have the regulator set at 10 pounds and it is starting to dance, however it doesn't really show in the photo above. The needle of the gauge topped out at 12 pounds and I was successful in dropping it back to 11 pounds and holding it there by turning down the heat slightly.
Satisfied that I now knew the sights and sounds of my pressure canner, I switched off the heat and left it to cool and de-pressurize naturally on its own. It took about 10 minutes for the pressure lock button to drop and another 10 minutes for the gauge to return to zero. I took off the regulator at this point and I left the canner another 10 minutes after that before carefully opening the lid (pointing it away from myself to avoid any lingering steam).
Full disclosure: I am a complete wuss and while the canner was heating and especially after it started venting steam, I stayed at the other end of the kitchen, sometimes even hiding out in the living room having all sorts of "Omygoditsgonnablow!!" thoughts. It didn't, of course, not even close, and now that I know that it's just the canner's normal behaviour, I am fine with it.
So, now that I was comfortable with the pressure canner, I prepared to can my batch of bone broth. When water-bath canning, it's easy and convenient to just sterilize the jars in the canner while it is heating. With a pressure canner, you don't have that luxury, so you have to resort to other means. I could have got the water-bath canner out, filled it with water and boiled the jars anyway (big waste of gas if I wasn't actually going to can something in it!), or I could have run the jars through the dishwasher (I had just emptied it, didn't have enough jars to make a full load and it would take too long, so I nixed that idea, too). I decided the quickest, easiest and cheapest way was to sterilize the jars in my oven. 250ºF for 10 minutes and done!


The broth recipe states that it yields 4 quarts, so I put in an additional pint jar just in case I had some left over. The five jars and their rings fit perfectly in my small roasting pan! I put the jars into a cold oven so they could heat gradually and then counted 10 minutes once the oven reached 250º.
While the jars were heating, I removed the colander of turkey bones, meat and vegetables and I brought the broth back up to a boil. Then I started in on making sauerkraut. This is the second step of my GAPS diet preparation. The fermented liquid is a great source of natural probiotics and stage one of the intro diet requires me to start with one tablespoon every day. I will also be purchasing organic probiotic yogourt and kefir which will serve as additional sources. Eventually, I will try making my own yogourt and kefir, but for now I'm starting one thing at a time.
The basic sauerkraut recipe in Amanda Feifer's great book,
Ferment Your Vegetables is SO easy. One 2-pound cabbage and 4 teaspoons of kosher salt. That's it!
You start by halving the cabbage and cutting out the core. Amanda suggests slicing the core and pickling it separately, but I will save that for a future fermenting adventure, so into the compost bin the core went!
I cut each cored half in half and then, with a flat surface against the cutting board I sliced crossways into thin (about ¼-inch) ribbons.
Then, work the salt into the cabbage using your clean hands for a few minutes until the cabbage has a sheen of moisture on it. Amanda suggests letting it sit now for about 20 minutes to allow more moisture to be drawn out, softening the cabbage and making it easier to massage later.
The jars were ready at this point, so I quickly set the pressure canner up again making sure to add the full 3 quarts of water this time as this was a real canning session, not a trial run. The water I added was hot from the tap so that the hot jars would not be shocked and I added a splash of vinegar to prevent mineral deposits, same as for water-bath canning.
One by one, I filled a hot jar with hot broth, leaving 1" headspace (necessary to allow the proper boiling of the broth inside the jar), wiped the jar rim, centered the lid on the jar and applied the band, firmly tightening it and placing the jar into the canner. Unlike water-bath canning, you should tighten the bands on jars to be pressure-canned past finger-tight to prevent the contents from being siphoned out under pressure. The pressure inside the canner can be enough to loosen the lids sometimes if they are not properly tightened. Still, there's no need to go overboard -- tightening just until firmly snug will suffice.


Turn the heat under the canner on high and bring to boiling. When there is good steady stream of steam issuing from the vent and the pressure lock is engaged, start counting 10 minutes to vent the canner. After 10 minutes, cover the vent with a 10-pound regulator, and bring the canner up to pressure. When the regulator starts rocking, adjust the heat to hold the gauge at 11 pounds and start counting 25 minutes.
At the end of 25 minutes, turn off the heat and allow the canner to cool and de-pressurize naturally before taking the lid off. Always lift the lid away from you in case there is still some hot steam left in the canner.
I left the canner for about an hour before I opened it. I noticed the jars were still boiling quite vigorously, so in a brief moment of panic, I put the lid back on the canner and ran to find the manual. It stated that this is completely normal and some jars will continue to bubble for some time after being removed from the canner. The jars are not going to explode, nor are the seals compromised. The same as water-bath canning: if the lid "pings" and is solid, the jar is sealed.
All four of my jars eventually "pinged", although it did take one of them nearly an hour to do so. I must say it was a little disconcerting to see the jars sitting on the counter, bubbling away after so much time out of the canner. The bubbles did slow down and ultimately stop, but it took several hours.
While the jars were being processed in the canner, I picked through the meat and bones left over from the broth and pulled off chunks of meat, ending up with half of a sandwich-sized freezer bag for the freezer.
Next, I returned to the sauerkraut:
It had been sitting for nearly half an hour at this point and certainly was softer and more moist, making the job of massaging more moisture out of the cabbage that much easier. Amanda suggests working the salted cabbage until there is a substantial pool of liquid at the bottom of the bowl and the cabbage starts to clump together in your hand. She states that you should look at the bowl of cabbage and then at the 1-quart mason jar and think that there's no way all that cabbage is going to fit into that jar. In this case, it turned out to be true!
Using your fist you pack the cabbage in as tightly as possible, squishing it until it is flooded with liquid which you pour out into the bowl so you can pack the cabbage down even further.
Even doing all that, I still ended up with nearly 2 quart jars, which is great! All the more brine for me to drink! (Yay! Do I sound excited? Or just crazy.)

According to Amanda, the key to a successful ferment is to make sure that all the vegetable material is submerged in the brine. As the fermentation progresses, vegetables tend to float to the top, so it is necessary to weigh them down. A handy trick mentioned in the book is to fill a smaller jar or non-metallic container with water or brine and place it in the top of the fermenting jar. In the photo above, the jar on the left was the first one I started with, thinking it would be the only jar and filled completely (up to 1 inch from the top). I found these little plastic food storage containers that fit perfectly (shown with the red lid in the jar on the left), but for the bonus jar on the right, which isn't quite full, the little plastic containers aren't deep enough to reach the top of the cabbage, so I used a half-pint canning jar instead.
Amanda also suggests saving one of the outer cabbage leaves to tear into a smaller piece to stuff inside the top of the fermenting jar to act as a sort of shelf for the weight to sit on. The edges can be stuffed down the sides of the jar to help submerge the vegetables. It's hard to see in the photo above, but that's what I did and it seems to work well.
Cover the jars with paper towel secured with a rubber band and leave on the counter at room temperature for a few weeks, checking and tasting every couple of days until you really like the taste, then refrigerate. I will be consuming just the brine for the first little while on the GAPS diet, but will be able to enjoy the actual sauerkraut soon thereafter.
While I was at
Loblaws buying the cabbage as well as some organic probiotic yogourt and kefir, I thought I would ask the butcher if they had any beef soup bones so I could make a batch of beef bone broth. Unfortunately, they were all out, but the butcher suggested using
osso buco instead. Unfortunately, they were all out of osso buco as well, so I settled for chopped oxtail.
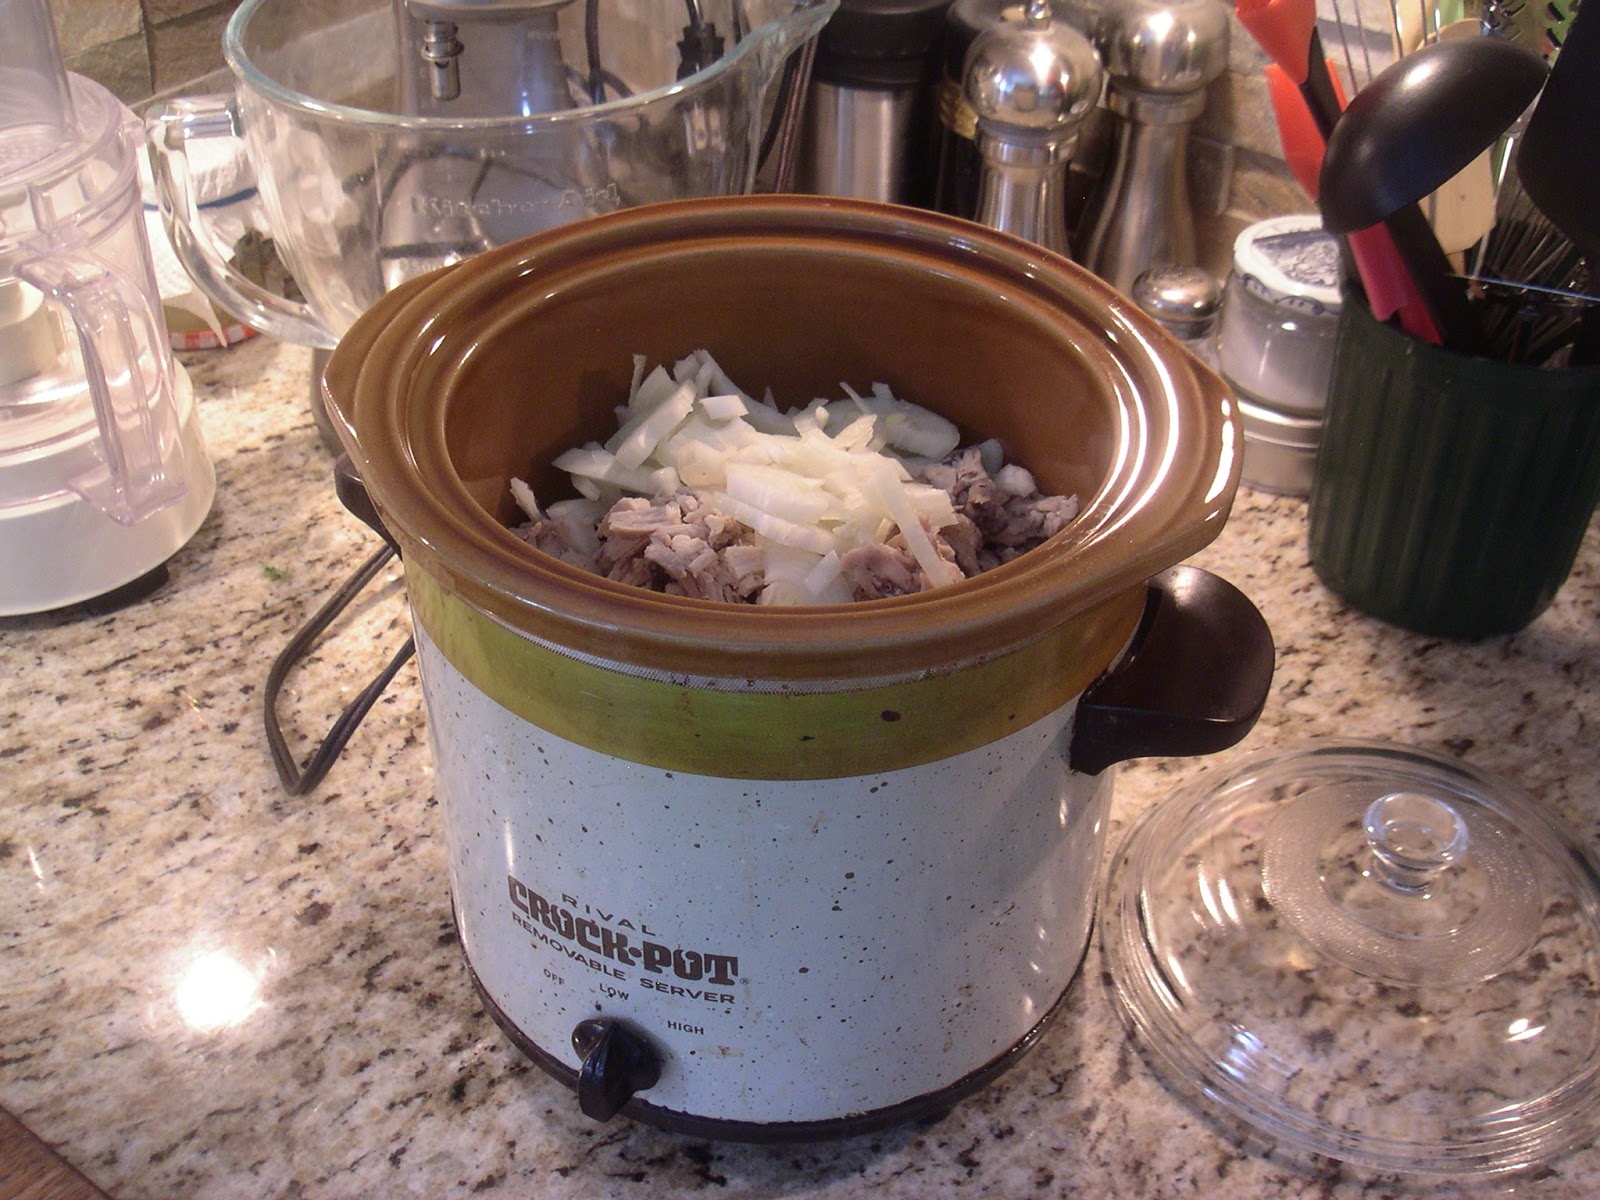
There was just over a pound of oxtail, so I threw it into my crockpot along with a couple of quartered, unpeeled onions, a handful of baby carrots (leftover from my Christmas party a week ago and frozen), a couple of peeled, chopped garlic cloves, a small handful of peppercorns, a good sprinkle of sea salt and filled it up with water.
 |
| A true original! This baby is nearly 35 years old! |
I started it off on High, then turned it down to Low before I went to bed. I think I will continue to make broths in the crockpot as I believe it uses less power than the oven does even on its "slow cooker" setting. Plus, the oven makes a low humming noise which I found annoying, so I really didn't fancy it being on all night.
Anyway, the broth was smelling wonderful this morning when I left for work, so we shall see this evening how it turned out and perhaps give the pressure canner another run!