Showing posts with label Farmer's Markets. Show all posts

Saturday, August 27, 2016

The Dog Days of Summer

Although we are a couple of weeks past the official "dog days", the hot humid weather continues here in Southern Ontario keeping us all in that slow, lazy, languorous state associated with late summer.


It's been a rather weird growing season as well.  After a cool and rather wet spring and early summer, for most of July we were in a severe drought with very little rain at all. Then August brought us a few decent rainfalls while still keeping the temperature hot.


What resulted is a garden that sprang to life, tomatoes and cucumbers full of blossoms and fruit which then seemed to come to a screeching halt through most of July.  I had lots of hard little green tomatoes which just refused to develop no matter how diligent I was about watering.  It was very strange -- everything was healthy and green, not shrivelling up and dying, but nothing was growing.

The cucumbers have been coming in very slowly -- one or two every week or so, so I've only managed to put up a couple of small batches thus far.  My beloved Black Brandywine Cherry tomatoes along with a new member of my garden this year, Sweet Gold Cherry have been acting similarly, coming in a handful at a time.  The full-size Black Brandywines have been very sluggish and I've only picked three ripe ones so far with only another 4 or 5 green ones left on the vines.

As for the plum tomatoes, I nearly lost all of them to blossom end rot, but fortunately I sprinkled some bone meal around all the plants quickly enough to stop it from developing further.


Blossom end rot is caused by a lack of calcium, which is provided by a liberal application of bone meal. Ideally some bone meal should be sprinkled in the hole before planting with a light top-up later in the season.  Blossom end rot is characterized by circular dark brown lesions on the blossom end of the fruit as in the picture above. It's not contagious and all you need to do is remove the afflicted fruit and throw it out.

I'm still coming across a few diseased tomatoes, but they're few and far between now. And now with a number of good rain showers plus the continued heat, the tomatoes are finally starting to ripen.


It's nowhere near what last year's harvest was, so there is a lot less canning from the garden happening this year. 

Today's harvest

Instead, I am supplementing with produce from the farmer's market. This morning I went back out to the Port Credit Farmer's Market and picked up 2 liters of Ontario strawberries (the everbearing ones are still around although starting to dwindle), a 3 liter basket of freestone Ontario peaches and a 3 liter basket of Ontario plums.

The peaches and plums are destined to be canned in a very light syrup to be spooned over yogourt for breakfast on the coming dark mornings of winter. I will stew the strawberries together with some late-season rhubarb that my friend Fred gifted me.

First off, though, I wanted to add the few cucumbers I picked this morning to the ones in the refrigerator crisper and put up another couple of pints of pickles.


Same with the tomatoes. I figure I have enough now for a couple of jars of diced and a couple of the ones in the crisper are starting to go soft, so I will definitely get to that tomorrow.

While I was looking up the instructions for canning plums in very light syrup, on a whim I flipped through my jam recipes to see if there was anything plummy that might strike my fancy. And indeed there was! This one for Plum Jam with Star Anise sounded so simple and good I just had to try it. It calls for a pound of plums and the 3 liter basket I bought gave about 2 1/2 pounds so I thought I would try a batch of jam and put up the remaining 1 1/2 pounds in very light syrup.


So, tomatoes forgotten for the moment, I set about prepping the plums. I weighed out a pound of plums for the jam, then cut them in half, dug out the pit and chopped the fruit into small pieces.
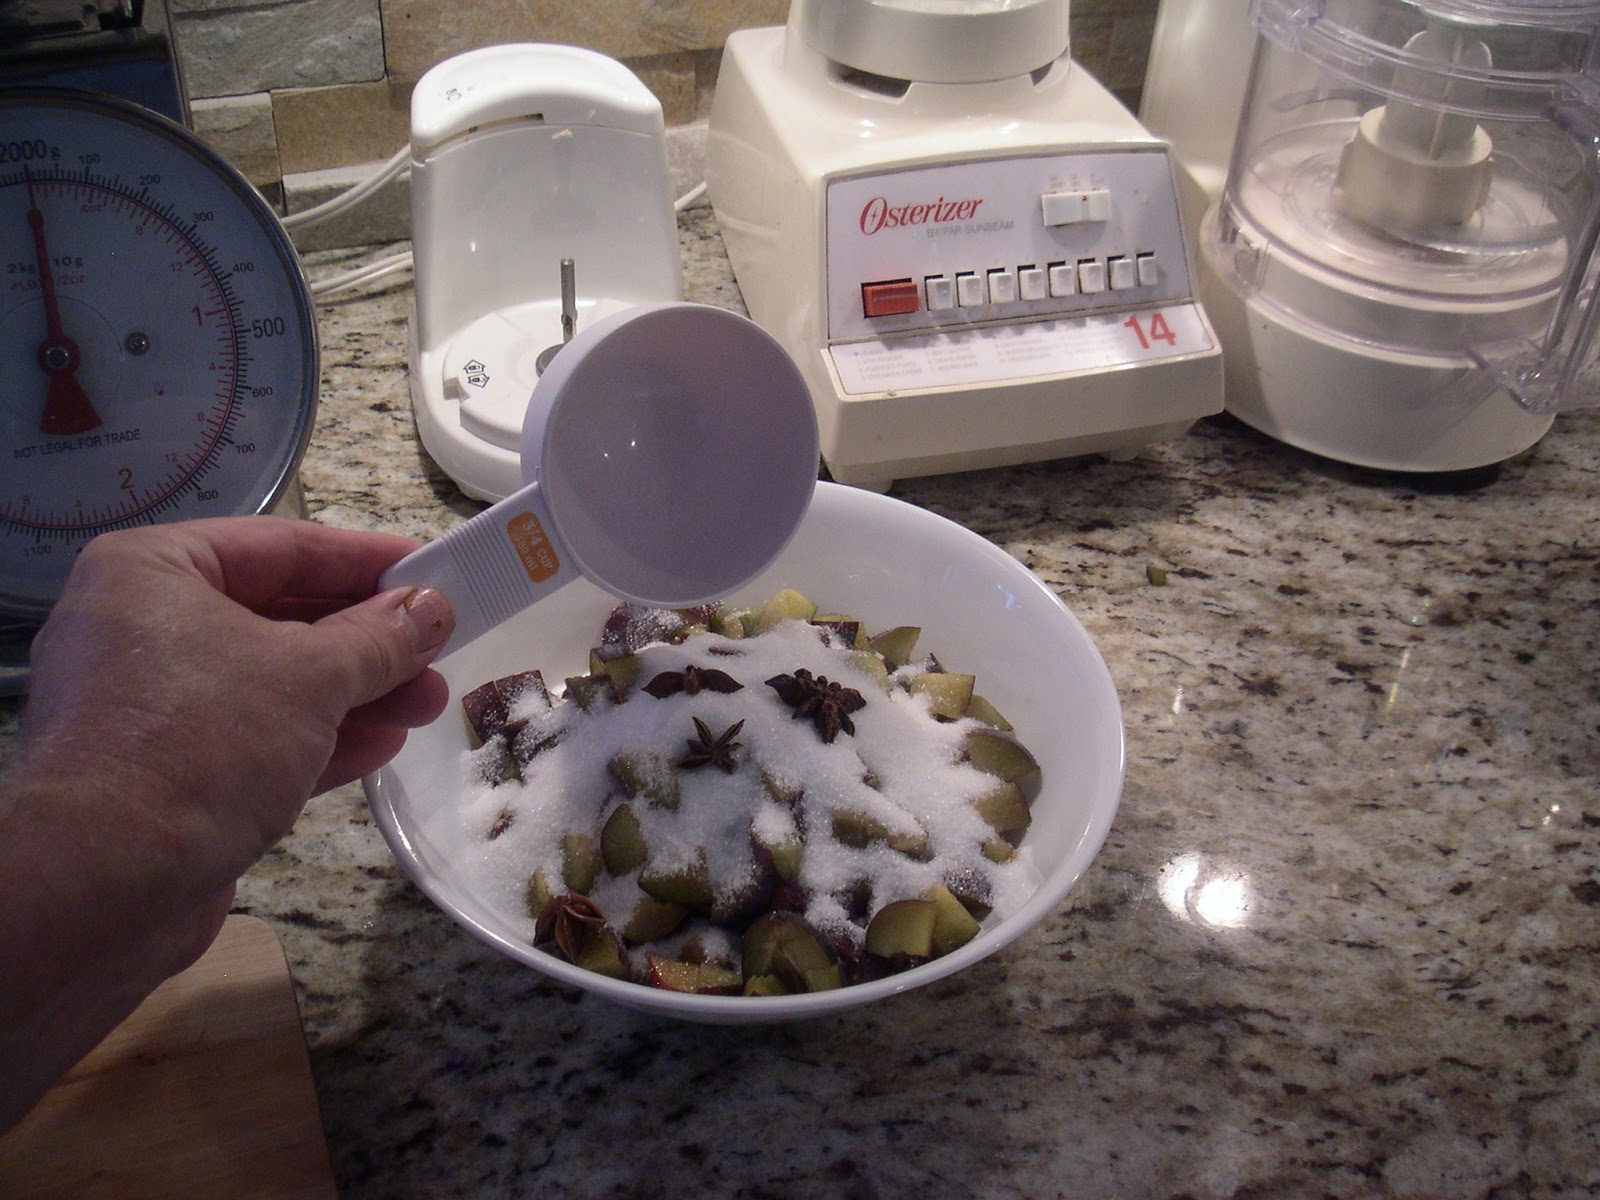

Three quarters of a cup of granulated sugar and 3 star anise are added to the chopped plums then mixed well and set aside to macerate for an hour or so to let the star anise infuse the mixture.

I then pitted the remaining plums and cut them into quarters.


One pound of pitted and chopped plums macerating in 3/4 cup white sugar and 3 star anise on the right ready for jamming and 1 1/2 pounds of pitted and quartered plums on the left ready to be canned in very light syrup. After an hour of macerating, the star anise has infused the chopped plums and sugar with an exquisite warmth. It's truly a combination worth trying!


The quartered plums are now simmering in a very light syrup which is 1/2 cup white sugar dissolved in 5 cups of water and brought to a boil. I used half of the syrup here for the plums and I allowed the remaining syrup to cool to room temperature before putting it in the fridge in a quart mason jar.
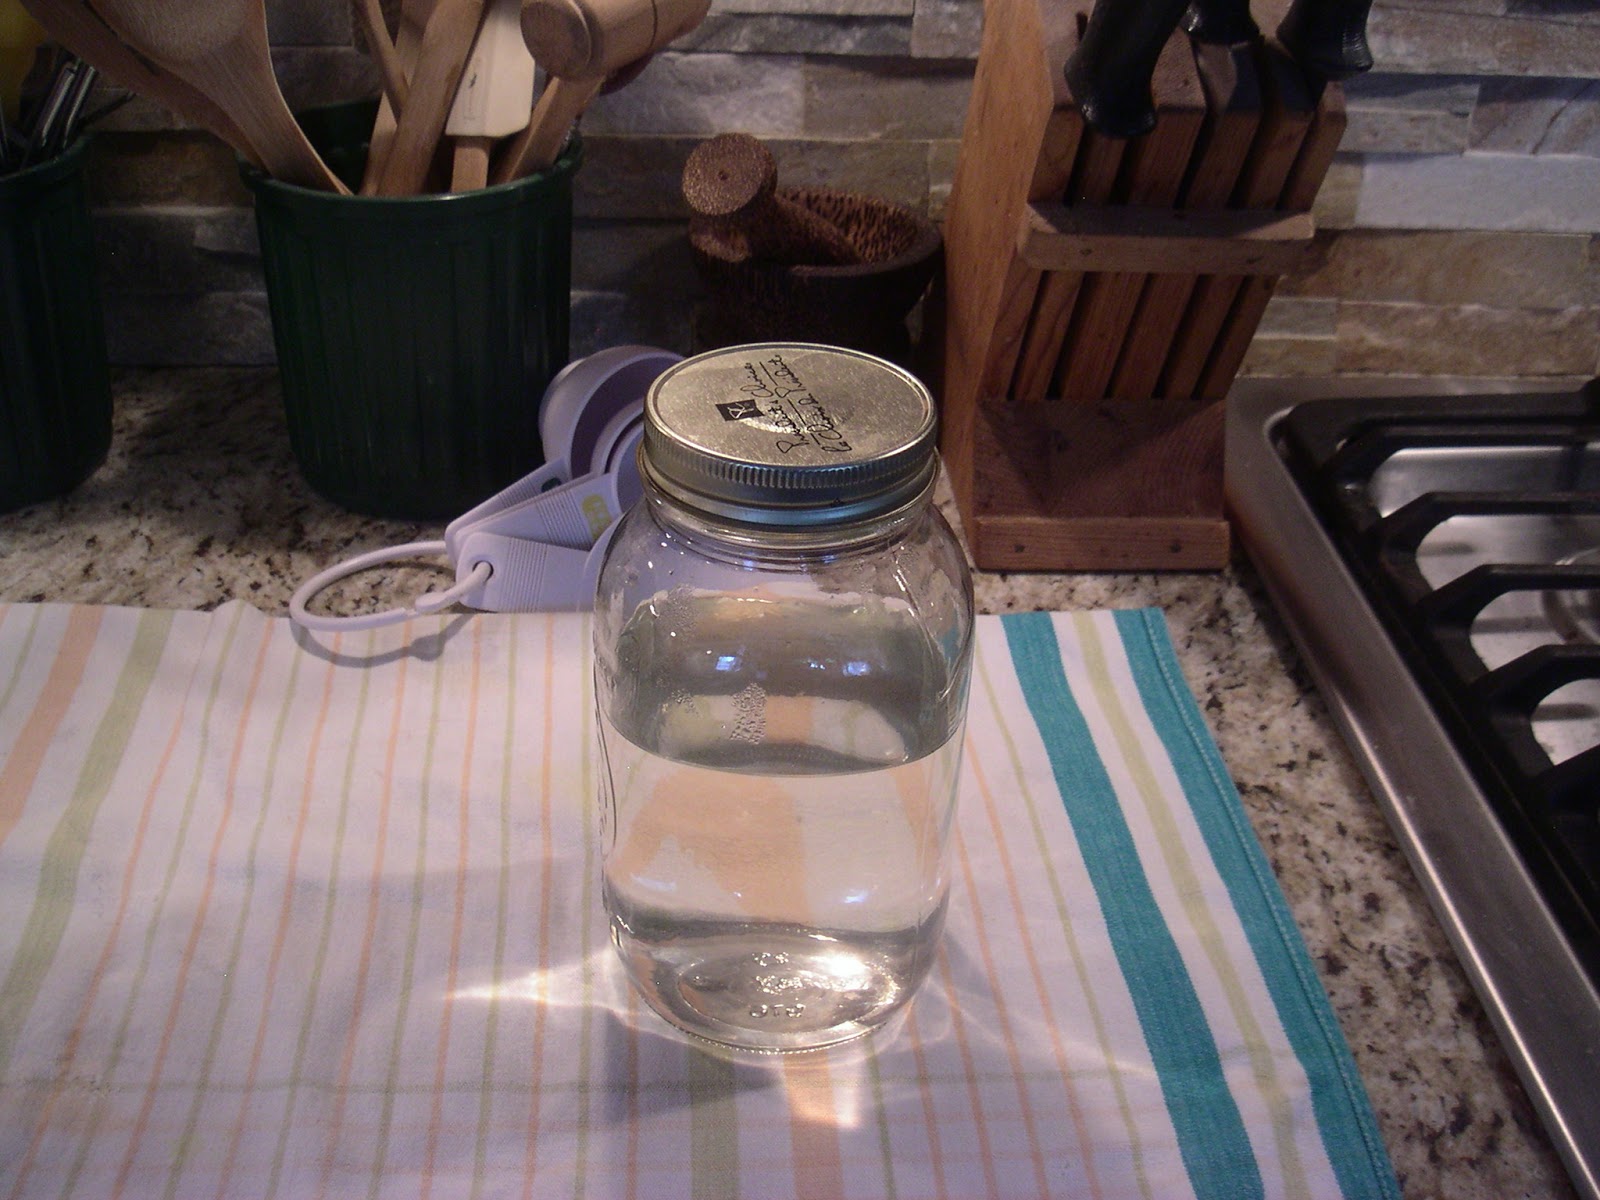

I will use this tomorrow when I do the peaches.


The jam is made in a non-stick frying pan instead of a saucepan so that the wider surface area allows the jam to cook up and set quicker.


I had originally thought I would use 2 jam jars for the jam and 2 pint jars for the plums in syrup. It turned out that I only needed 1 jam jar (on the right in the picture above) for the jam and I had enough plums in syrup left over to fill the other jam jar as well as the 2 pint jars. 

The jam only needed 10 minutes processing whereas the plums in syrup needed 20 minutes, so I put them all into the canner together and then pulled the jam out after 10 minutes and let the rest of the jars boil for an additional 10 minutes.

Tomorrow I will tackle the tomatoes, the peaches and the strawberries and rhubarb.

Saturday, July 30, 2016

Port Credit Farmer's Market, Strawberry Preserves, and my own Black Brandywine Cherry Tomatoes!!

Even though it was overcast and cool with the occasional sprinkle of rain, I ventured out to the picturesque village of Port Credit, about a 20 minute drive from here and a part of the larger City of Mississauga for many years.

I was after strawberries to both jam and put up in syrup and I had been told a couple of weeks ago that although the early strawberries were pretty much finished, the everbearing strawberries would be at their peak about now, so I thought I would check it out.


There were some strawberries, but not a many as I though there would be.  Perhaps they peaked last week. Anyway, there were enough to choose from, the going rate between $5 and $5.50 a quart or 2 quarts for $10.  I managed to find a flat of 6 quarts for $28.


My apologies for the blurry photo -- all this fresh produce left me quivering with excitement!  This group had the biggest, best looking berries and it was from them that I bought my flat.


Home again and time to start in on the preserving.  Not being a big eater of jam, although I do love it, I decided to set aside 1 quart of the strawberries and make a small batch of jam and I will preserve the rest in a very light syrup. I have done this a couple of years in a row now and although canned strawberries tend to get flabby, mushy and "blown-out", I still enjoy them over ice-cream or over yogourt for breakfast.  Nothing lifts my spirits on a cold, dark winter's morning than the fresh summery taste of my own canned fruit and strawberries, despite their texture, are no exception!

Part of my inspiration for making jam (apart from the joy of having some in my pantry) is the jars I will be using. I inherited 4 little round jam jars a few years ago from my cousin, Lynn and I instantly fell in love with them.  I had never seen them before and apparently they were available years ago, but Bernardin stopped making them.

Back in March of this year, Marisa posted on her blog about Ball (the American equivalent of Bernardin -- both are owned by Jardin) bringing back these jars. I was thrilled and thought it was only a matter of time before Bernardin followed suit and brought them back to Canada. Sure enough, about a month ago, they showed up on Bernardin's website with the note that they were available at major retailers.


So, I first checked Canadian Tire, my usual canning goods supplier, but to no avail.  Same with Home Depot, Lowes, Rona and even Home Hardware.  Lots of the usual canning jars, but no little round jam jars.

Finally, I did what I should have done in the first place and asked Mr. Google. And, much to my supreme chagrin, there they were waiting for me at that death-star of the evil empire: Wal-Mart!! I make a habit of avoiding Wal-Mart like the plague, so it was with firmly gritted teeth that I swallowed my pride and with eyes burning from my hypocrisy, bought two sets of 4 jars. Sigh! My hatred of Wal-Mart is the stuff of legend and may be worth a ranting post of its own some day.  Not today, though, and not here.


So, to prepare the strawberries, I first set aside one quart basket of berries from the flat, give them a good wash and proceed to trim and hull them, chopping the smaller ones into quarters and the larger ones into eighths.


Once all berries from that one quart basket have been trimmed, hulled and chopped, I mix in one cup of granulated sugar.


Covering the bowl, I popped it into the fridge to allow the fruit to macerate overnight to extract as much juice as possible.

I repeated the washing, trimming and hulling with the remaining 5 quarts of berries, but I leave the smaller ones cut in half and the larger ones in quarters for preserving in very light syrup.

And, to end off, I'm am so excited to announce that my beloved Black Brandywine Cherry Tomatoes are now starting to ripen. All that babying and coddling have paid off!


Same amazing taste as their big brothers. I'm thrilled to have them now in my collection!  Tomorrow, I will tackle the macerated strawberries, make a small batch of strawberry jam and put the rest up in very light syrup.  Stay tuned!

Wednesday, July 13, 2016

Strawberries, Rhubarb and Cherries, Oh My!!

"Egads and little fishes!" as my mother was fond of saying. I can't believe that it's been over a month since my last post. (Were I Catholic, this would definitely seem confessional!).

Much has happened in the interim, both good and bad. I am not going to dwell on the bad stuff here -- the media have done an admirable job of covering -- although I encourage you to read/watch as many different sources as possible to get as balanced a view as possible. Remember, there are at least two sides to every story.

Instead, what I want to do here is focus on the good.


Like the emergence of Ontario strawberries. Granted, I am posting this over a month after the fact and we are now firmly entrenched in strawberry season here in Ontario, but no matter when, Ontario strawberries are something to celebrate!  Juicy and packed with flavour they far outshine their insipid imported counterparts!

As it was the long Canada Day weekend as well as a long Independence Day weekend (Friday, July 1 was Canada Day and Monday, July 4 was Independence Day), and the Toronto Pride Parade was on the Sunday, July 3, I decided to host a "Canada Pride" barbeque on Canada Day.

As word got out, the number of guests swelled, so I hastily made it into a potluck, which ended up working wonderfully. I asked my guests to bring either a salad or appetizers and I would take care of the main courses of cold poached salmon fillet, barbequed sausages and chicken wings/drumsticks as well as ice cream to accompany the Canada Day cake my friend Nancy offered to bring.

Since there would be a number of dairy-restricted guests, I thought that a couple of dairy-free ice "creams" would be in order. So, consulting my recipe stash and Mr. Google, I came up with Coconut Milk Strawberry Ice Cream.


Since this was my first time making a non-dairy ice cream, using unflavoured gelatin was new to me, but in hindsight it was essential for creating the right consistency in the ice cream base.


Soften the gelatin in a little water and in the meantime, blitz most of the strawberries (holding a few back for chopping into the ice cream) with the coconut milk and honey.


Pour the strawberry/coconut milk mixture into a large bowl and stir in the melted gelatin. Pop into the fridge and let it set up for several hours or overnight. There isn't enough gelatin to produce a firm jello-like set, but it should be thick and creamy, like a yogourt drink.


Meanwhile, chop the reserved strawberries into small pieces.


Prepare your ice cream maker. This is my Cuisinart. It's an awesome little workhorse that is used infrequently but is SO appreciated when needed for churning out all sorts of frozen goodies!


Following the manufacturer's directions, start the ice cream maker, then slowly pour the prepared base into the freezer bowl. Churn until frozen and creamy, about 20 minutes.


Add the reserved chopped strawberries and churn for another few minutes to thoroughly combine.


Pack into a freezer-friendly container and freeze until firm -- several hours or overnight.  Note:  since there is no butterfat in this ice cream, it does freeze VERY solidly.  You will definitely want to take it out of the freezer about 30-45 minutes before serving to improve scoopability. Also note, due to the lack of butterfat, it will not have the creamy scoop of a dairy ice cream, but will be more ice crystalline, more like a sorbet. Very tasty, regardless.

Another non-dairy ice "cream" I made for the barbeque was an Almond Milk Chocolate Ice "Cream", made similarly to the Coconut Strawberry Ice "Cream" above. Click on the links for recipes.


Over the long weekend, I made a trip to a nearby farmer's market and discovered both the early Ontario strawberries and the Ontario cherries were nearing their end, so I scooped up some of each. The farmer I bought the strawberries from told me that the ever-bearing strawberries would be coming into their prime in another week or so and that if I checked back then, I might be able to get a flat of strawberries at a decent price. I will definitely check that out!

Meanwhile, these strawberries I bought were earmarked for canning, some with rhubarb from my garden and some on their own in simple syrup for having over yogourt for breakfast some cold, dark, dreary February morning.


So, to prepare, I topped and hulled the strawberries, then divided them, approximately two-thirds to be canned on their own to one-third to be combined with my previously frozen rhubarb.  The above photos show the strawberry/rhubarb mixture macerating with about 2 cups of granulated sugar. I like to leave the fruit to macerate as long as possible (overnight is ideal!) so that the maximum amount of juice is extracted.


I've also split the rhubarb in half, so that one half is combined with the strawberries and half is on its own. Out of this exercise I will therefore get three different preserves: strawberries in simple syrup, stewed rhubarb and stewed rhubarb with strawberries!  All will be superlative over yogourt on a cold winter's morning.


The bounty:   2 1/2 pints strawberries & rhubarb
                       3 pints rhubarb
                       1 pint strawberries

As for the cherries, I was inspired by a need to clean out my freezer (last year's cherries from my backyard tree), the wonderful irresistible cherries from the farmer's market and Marisa's post last week for Sweet Cherry Barbeque Sauce. Oh yeah! Totally up my alley and I literally drooled at her suggestion of using said barbeque sauce as a braising base for chicken or pork. Hot patootie!

So, I was on this like glaze on doughnuts.


In the pot are 3 pounds of sweet cherries, a cup of apple cider vinegar and a cup of packed brown sugar. On the cutting board is everything else.


Since the recipe called for 3 pounds of cherries and I had 5 1/2 pounds, rather than scale up the recipe (which would have been okay since it's not jam or marmalade), I thought that since I hadn't tasted this before, I would make the recipe as described and can the excess cherries in simple syrup to have over yogourt for breakfast. The photo above shows the excess cherries beginning their maceration in a cup of white sugar.


The barbeque sauce (large pot in back) and the cherries in simple syrup (smaller pot in front).


The reward:  2 1/2 pints sweet cherry barbeque sauce
                     1 1/2 pints sweet cherries in simple syrup

Taste testing while I was making this indicates this one's a keeper!  It's a nice balance between fruity, sweet, savoury, spicy-hot and tart. I can't wait to try it in a slow-cooker braise!

Friday, September 11, 2015

Locavore, a dictionary definition

locavore ['lō-kə-ˌvȯr] n. one who eats foods grown locally whenever possible

This, according to the Merriam-Webster online dictionary.  So, what is meant by "locally"?  That's up for debate I guess, but a common definition I've heard and that I think is reasonable is "within a 100 mile radius".  For us Canadians, that translates to about 161 kilometres (1 mile = 1.609 km).

I am blessed to be living in the wonderfully diverse agricultural region of Southwestern Ontario, so 161 km puts me within reach of some amazing fresh produce.  Some of you may have to travel a little further afield, but the point of locavorism is to minimize the distance between farm and table while maximizing freshness, supporting local farms and maintaining biodiversity and sustainability.  An excellent resource for finding local farms in your area is PickYourOwn.org. 

Farmer's markets are another excellent way to both support your local farms and provide yourself with fresh food.  Look for smaller, local producers who tend more towards organic farming methods, even if they aren't actually certified organic.  Speak with them!  Most are happy to talk about their farms and growing methods.  Many may grow heirloom and non-GMO varieties and it is my own belief that these not only taste better than their industrial corporate agribusiness counterparts, but they are more nutritious and leave a smaller carbon footprint.  Many geographical areas (provinces and states, for example) have a central directory of farmer's markets in their area.  Try a Google search for "farmer's markets in <fill in your province or state>".  FarmersMarketsOntario.com is an excellent directory for Ontario.

Community Supported Agriculture (CSA) programs are another excellent way for urbanites to support their local farmers.  In these programs, you typically pay a seasonal fee upfront before the beginning of the growing season to receive, either by pickup from a designated point or by home delivery, a box of food (usually produce, but sometimes dairy and/or meat is also included) on a regular basis (often weekly) throughout the season.  Like farmer's markets, many areas have a directory of CSA farms (not all farms in a given area participate in the CSA program) and a quick Google search should find one in yours.  The Ontario CSA Farm Directory is an excellent listing for Ontario and contains a great explanation of how the CSA program works.

Of course, you can't get much more local than your own backyard and those of us fortunate enough to have a vegetable garden know the benefits it brings.  This year I planted 53 tomato plants of four different heirloom varieties:  Black Brandywine, Opalka, Roma (all three are indeterminate) and Oroma, a determinate variety.  To date I have canned about 12 pints of diced tomatoes, 9 pints of tomato sauce, 9 quarter-pint (125ml) jars of tomato paste and approximately a pound of "sun-dried" (actually oven-dried) tomatoes.  And there's at least another batch of red tomatoes to come, not to mention all the green ones.

In addition, I planted three varieties of drying beans:  Grandma Rose and Alubia di Tolosa (both indeterminate, or pole, beans) and Cannellini (a determinate, or bush, bean).  I must admit to being rather disappointed with the beans.  I planted about a 10' row (approximately 12 vines) each of both the Grandma Rose and the Alubia di Tolosa.  The Grandma Rose took off like a shot and was full of beans (HA! pardon the pun) in no time, while the Alubia took its time deciding whether the climb up the trellis was worth the effort.  Apparently, it finally decided to go for it and made it to the top just to sit there for most of the summer, all leaves and no beans!  Then, in mid-August, it decided time was running out so it suddenly made like Grandma Rose and bounded up over the top of the trellis and into my neighbour's Rose-of-Sharon bush before doubling back down onto the trellis.   All this, apparently, to support what looks like enough beans to feed half the country.  The pods are still green, though, and we are now well into September, so we will see how well (or even if) they dry out in time to harvest.  Mind you, Grandma Rose looked similarly packed with bean pods when she was in her prime and now that I've harvested all but one vine, I can't say it's amounted to much -- maybe a quarter-pint of dried beans.

As for the Cannellinis, well, I must have done something wrong because most of them never came up and the few that did were spindly, sickly things that didn't do much growing over the summer let alone produce beans.  I am suspecting the soil in that area of the garden so will read up on that.  Having never grown beans from scratch before, this was a total experiment.  My hope was to have enough dry beans to can for the winter as I use a lot of both beans and tomatoes in my cooking, but in order to harvest enough to make it worthwhile, it looks like I'll have to plant a lot more to start with.