Showing posts with label Canning & Preserving. Show all posts

Monday, September 19, 2016

The Last Weekend of Summer

The summer heat continues and even though the sun is now rising later (already I am getting up in the dark -- ugh!) and setting earlier, it still feels like mid-July.  We've gotten a few good rainfalls which combined with the heat are making the gardens give it their all in a last great push to the end of the growing season.

I've managed to collect a few batches of tomatoes here and there, but the cucumbers are all but done. I have great hopes for my carrots, though and will leave them well into the fall before pulling some. They are growing well and will sweeten up in the cooler weather. In her excellent book The Year-Round Vegetable Gardener: How to Grow Your Own Food 365 Days a Year, No Matter Where You Live, Niki Jabbour mentions covering your carrots with straw or mulch to protect them from freezing and leaving them in the ground over winter, pulling them as needed. I'm not sure if I'm brave enough to try it with all my carrots, but I may try one patch and see what happens.

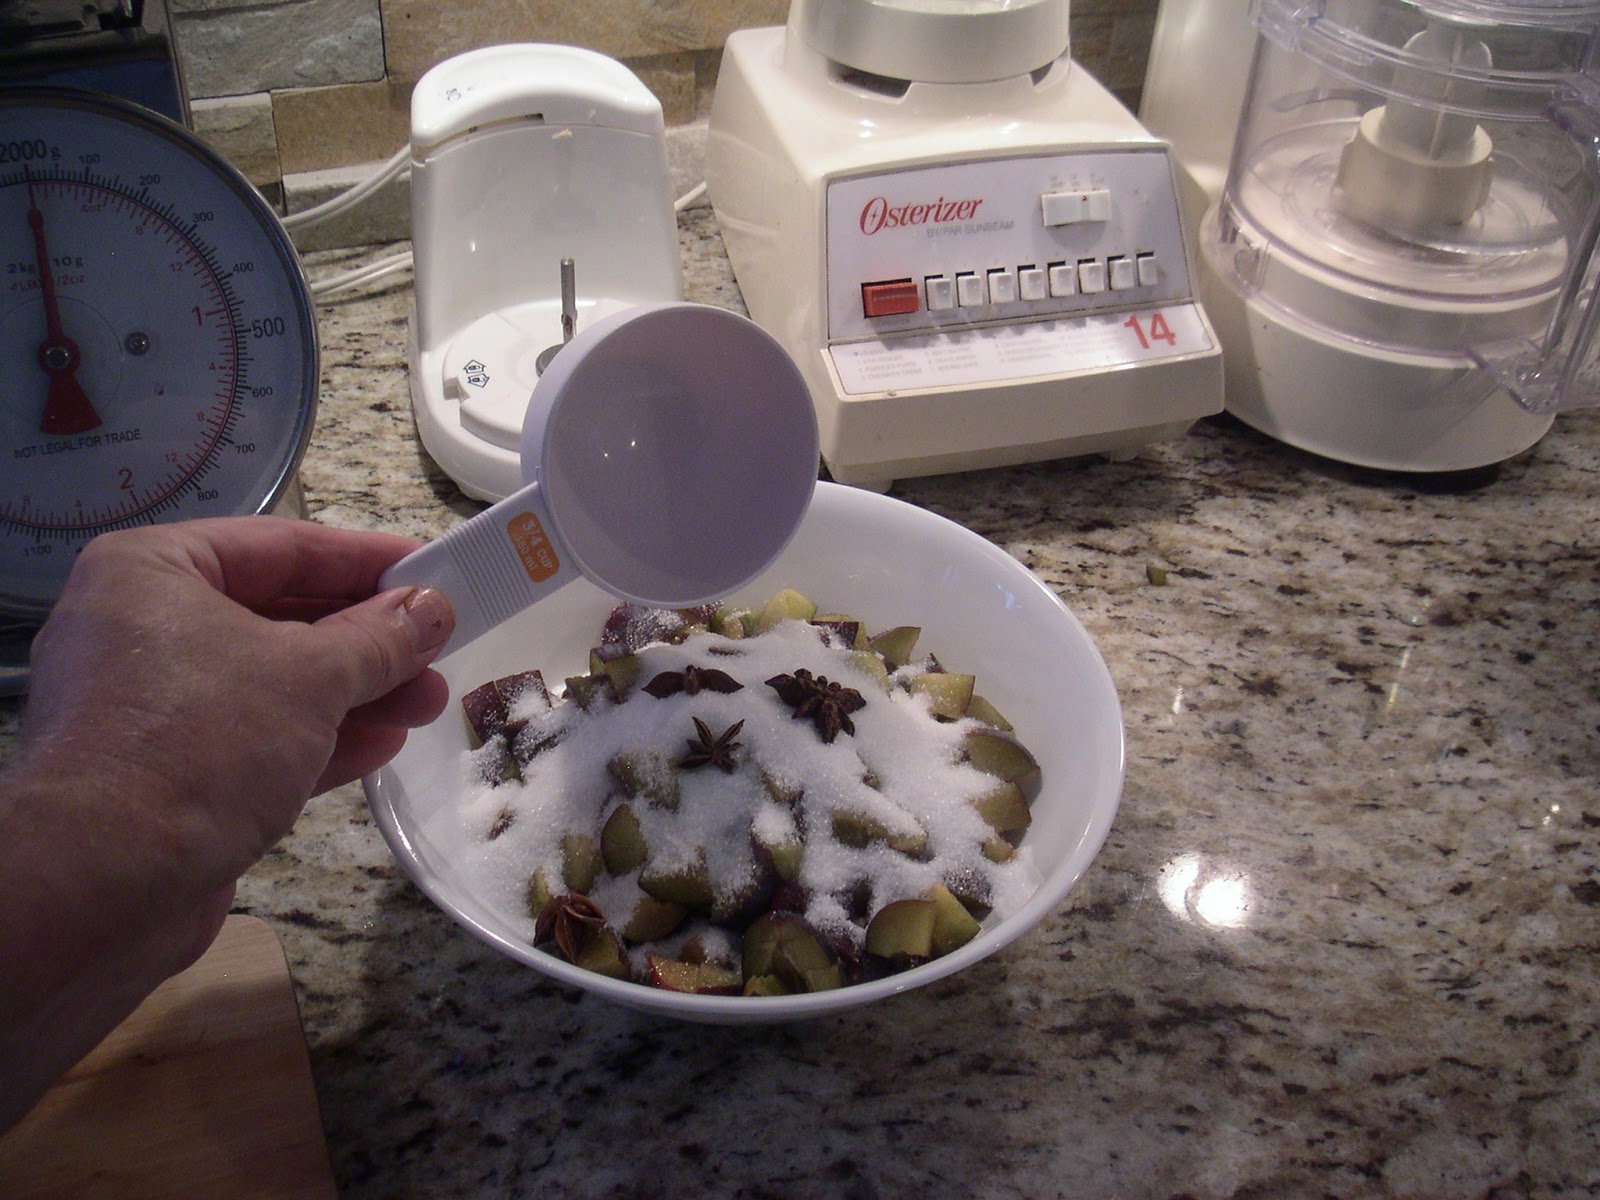
Meanwhile, Saturday was warm, steamy, gray and rainy, so I decided to get warm and steamy indoors and do some canning. I missed the boat with the Ontario peaches this year -- they weren't around long -- and the few I did have a couple of weeks ago went from under-ripe to rotting in the blink of an eye. However, the Ontario nectarines were still plentiful and looking good, so I bought several quarts and decided to make jam as well as put up some diced fruit in a very light syrup.


The recipe I used as a base is this one for Peach Jam from Canadian Living magazine.  As usual, I tweaked it to use nectarines instead of peaches, I substituted 1 cup of brown sugar for 1 cup of the granulated sugar and I gilded the lily by adding 2 oz of Triple Sec and 1 oz of Courvoisier. In case you're interested, here's the difference between Triple Sec, Cointreau and Gran Marnier.

The thing I like about nectarines is that although they are technically a type of peach, they combine the best features of peaches and plums: they have the larger size, bright colouring and taste of peaches, but with the smooth, fuzz-free skin of plums that breaks down nicely when cooked.  This means no blanching and peeling is necessary!


So, to start I prepared my water bath canner and 6 jam jars. Next, I washed, pitted and diced a dozen medium-sized ripe nectarines to end up with 6 cups of diced fruit.


Next, throwing the fruit into a large pot and using a potato masher, I reduced the diced fruit into a pulpy mess. To speed things up a little, I finished it off by using my hand blender for a few quick blasts.


Next, I added two tablespoons of freshly squeezed lemon juice (about half a medium-sized lemon) and put the pot on high heat.


While the fruit was beginning to heat, I combined 1 packet of light pectin with a quarter cup of granulated sugar then stirred into the fruit and brought everything to a boil.


Once the fruit mixture was at a steady boil, I added the remaining sugars, stirring well and brought the pot back up to a full rolling boil that couldn't be stirred down.


I added 2 oz of Triple Sec, 1 oz of Courvoisier and I boiled it hard for 1 minute, then turned off the heat and skimmed off any foam.

By this time, the canner had been boiling for well over 10 minutes, so I removed the sterilized jam jars and I filled 5 of them with a little left over for sampling.  I processed them in the canner for 10 minutes, then turned off the heat and left the canner for another 5 minutes before unloading the jars to a folded tea towel to cool undisturbed for 24 hours.  You can find my recipe here.

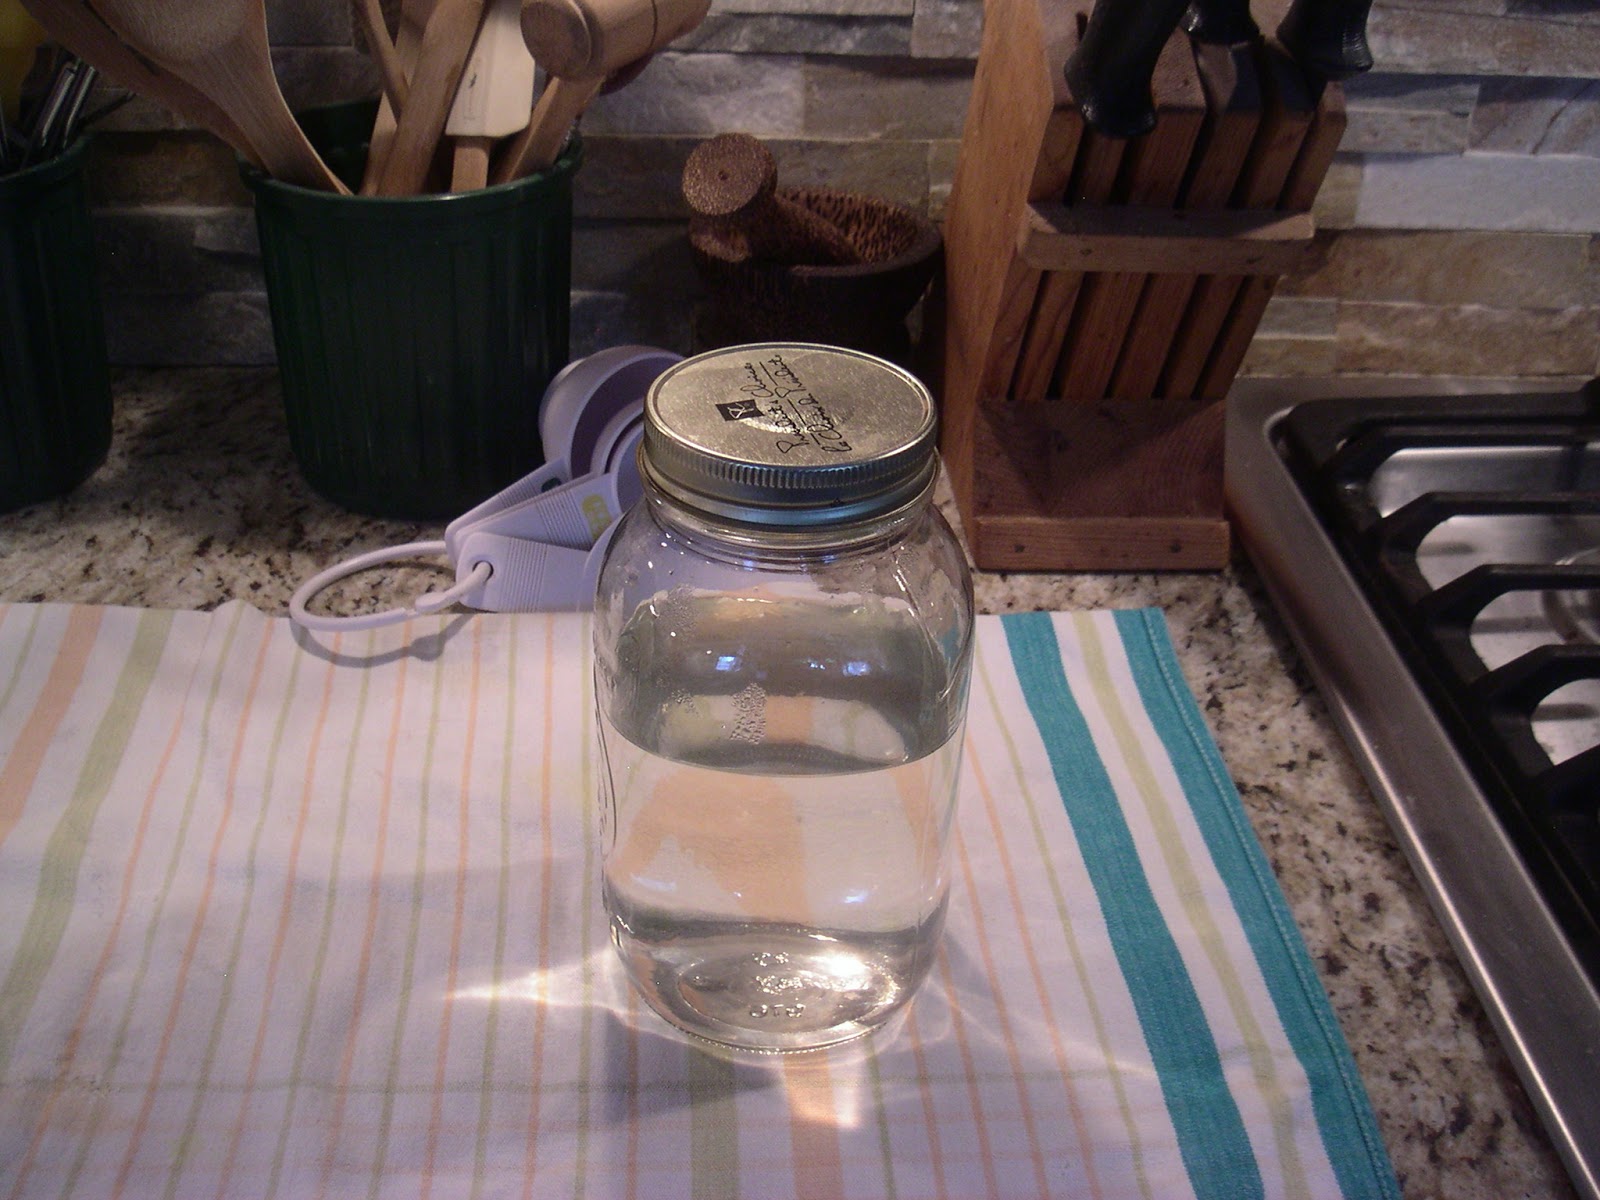
I had 18 nectarines left which I wanted to dice and preserve in a very light sugar syrup. I had about 2/3 of a quart of syrup left over from putting up some diced plums a few weeks ago that I had originally thought I would use for diced peaches. However, that being an exercise in disappointment, I decided to use the left over syrup on the nectarines.


So, like the jam, I began by washing, pitting and dicing the fruit while the left over sugar syrup was simmering and a half dozen pint canning jars and their rings were heating in the canner. After the jam, I had to top up the water in the canner and add another splash of white vinegar and by the time I had finished pitting and dicing the nectarines, I had time to sit with a cup of tea while the canner boiled.


Once the jars were sterilized, I removed them from the canner and packed 5 of them with the diced fruit, using the pestle from my mortar-and-pestle to tamp them down, packing them tightly into the jars without crushing them.

Using my canning funnel, I poured the sugar syrup into a large measuring cup and then poured from that into each of the jars, jiggling and tapping each jar to dislodge any air bubbles. Bernardin's canning instructions for putting up fruit in syrup state to leave a half-inch of head space, but I ended up with more like a quarter-inch. Typically this would jeopardize the sealing of the jars as there isn't enough room under the lids for steam to develop and expel from the jars thereby creating the vacuum that creates the seal.

Further, having the canning liquid so close to the top of the jar facilitates siphoning which ends up draining some of the canning liquid under the edge of the lid and compromising the ability for the lid to seal to the lip of the jar.


I was fortunate this time in that despite considerable siphoning, all my jars successfully sealed, although one jar took much longer to seal than the others.  I was thinking it would be a refrigerator jar that I would be eating from in the next week or so, when it suddenly "pinged" to let me know that it, too, had sealed and was shelf-stable.

Just to be sure, though, I removed the bands from each of the jars, then one-by-one I picked them up by the edges of the their lids using my fingertips. Each lid held fast which proved that its seal was intact. If any of the lids had released from the weight of the jar, I would have put the lid back on, secured it with its band and stored the jar in the fridge, using it up within the next week or two. But, happily, all are intact, so I can safely store them down in my pantry to enjoy throughout the coming winter.


Sunday, August 28, 2016

Disappointment

It's a bit of a downer to title a post "Disappointment" but that's essentially what I'm feeling right now after having spent all morning canning. If you put up food on a regular basis, every once in a while you are bound to have a disappointing session. Today was one of those.

I always have the grandest plans when it comes to canning (as well as a lot of other areas in my life!) and so I figured it would be a snap to do the strawberries and rhubarb, followed by the peaches I bought yesterday from the farmer's market and then the collected tomatoes from my garden.


It all started encouragingly enough -- a beautiful, sunny Sunday morning, fresh Ontario strawberries and rhubarb.


The rhubarb was gifted from my friend Fred and he thoughtfully had trimmed, chopped and frozen it for me, so all I needed to do was thaw it and put it a large pot. The rhubarb released a lot of its juice during the thawing process, so there was no need to macerate it in sugar.


I didn't bother macerating the strawberries either, just trimmed, cored and halved or quartered them, adding them directly to the pot of thawed rhubarb. I reckoned I had about 6-7 cups of fruit altogether, so I guesstimated about 3 cups of sugar would do. As it turned out, I was running low on sugar and I had just over 3 cups left, so that's what I used. I didn't want to make jam, just stew the rhubarb together with the strawberries to create a sort of thick sauce to have on yogourt or oatmeal for breakfast (or over vanilla ice cream!)


Bring the whole thing to a full, rolling boil that can't be stirred down and cook until the strawberries are soft, about 10 minutes or so. Since the rhubarb had released so much juice during the thawing process, it more or less dissolved into the stew, but made for a lovely preserve nonetheless.

Ladle into hot sterilized jars and process for 20 minutes. See here for water bath canning instructions.

All in all a fine start. However, it all went downhill from here.

The peaches I bought yesterday at the farmer's market look perfect and seem completely ripe, but when I tried to blanch them to remove their skins, they wouldn't budge.


Similar to preparing tomatoes for canning whole, halved or diced, I set up a large pot of boiling water, a bowl of ice water, another bowl for the peeled peaches and a plate to catch the skins. No matter how I tried, though, the skins would not release. The peaches are obviously not as ripe as I thought they were. 

So, I will leave them for a bit and hopefully they will ripen up.

After aborting the attempt to can the peaches, I turned to my meagre collection of tomatoes that I had gleaned from my garden over the past few weeks. Compared with last year, these are truly pathetic. Like the peaches, they look ripe, but when I tried blanching them, the skins were difficult to remove. I did manage to peel them all, but it took a fair bit of determination and effort. The tomatoes are small, hard and not very plump and juicy like they were last year and I put this down to the severe drought-like conditions we had here in July. Despite my regular watering, there just wasn't enough good rain. So, the garden has definitely suffered.

Having peeled and diced the few tomatoes I had, I decided at the last minute to take the collection of cherry tomatoes I had in the fridge, halve them without peeling them and add them to the diced tomatoes. A lot of the cherry tomatoes I picked recently are split, which is due to the large amount of rain we've received in a relatively short period of time over the last few weeks.


I must admit I do like the colourful mixture of the various types of tomatoes. I just wish there were more of them! So, I brought the tomatoes to a boil, then put them in hot, sterilized jars with bottled lemon juice (1 tbsp for pint jars, 2 tbsp for quarts) and processed them for 40 minutes.


All this for one 750ml (1 1/2 pint) jar and half a 1/2 pint jar. Sigh! Well, next weekend, it being the Labour Day weekend, hopefully I will have suitably ripe, fresh produce and will make up for this rather dismal canning session.

Saturday, August 27, 2016

The Dog Days of Summer

Although we are a couple of weeks past the official "dog days", the hot humid weather continues here in Southern Ontario keeping us all in that slow, lazy, languorous state associated with late summer.


It's been a rather weird growing season as well.  After a cool and rather wet spring and early summer, for most of July we were in a severe drought with very little rain at all. Then August brought us a few decent rainfalls while still keeping the temperature hot.


What resulted is a garden that sprang to life, tomatoes and cucumbers full of blossoms and fruit which then seemed to come to a screeching halt through most of July.  I had lots of hard little green tomatoes which just refused to develop no matter how diligent I was about watering.  It was very strange -- everything was healthy and green, not shrivelling up and dying, but nothing was growing.

The cucumbers have been coming in very slowly -- one or two every week or so, so I've only managed to put up a couple of small batches thus far.  My beloved Black Brandywine Cherry tomatoes along with a new member of my garden this year, Sweet Gold Cherry have been acting similarly, coming in a handful at a time.  The full-size Black Brandywines have been very sluggish and I've only picked three ripe ones so far with only another 4 or 5 green ones left on the vines.

As for the plum tomatoes, I nearly lost all of them to blossom end rot, but fortunately I sprinkled some bone meal around all the plants quickly enough to stop it from developing further.


Blossom end rot is caused by a lack of calcium, which is provided by a liberal application of bone meal. Ideally some bone meal should be sprinkled in the hole before planting with a light top-up later in the season.  Blossom end rot is characterized by circular dark brown lesions on the blossom end of the fruit as in the picture above. It's not contagious and all you need to do is remove the afflicted fruit and throw it out.

I'm still coming across a few diseased tomatoes, but they're few and far between now. And now with a number of good rain showers plus the continued heat, the tomatoes are finally starting to ripen.


It's nowhere near what last year's harvest was, so there is a lot less canning from the garden happening this year. 

Today's harvest

Instead, I am supplementing with produce from the farmer's market. This morning I went back out to the Port Credit Farmer's Market and picked up 2 liters of Ontario strawberries (the everbearing ones are still around although starting to dwindle), a 3 liter basket of freestone Ontario peaches and a 3 liter basket of Ontario plums.

The peaches and plums are destined to be canned in a very light syrup to be spooned over yogourt for breakfast on the coming dark mornings of winter. I will stew the strawberries together with some late-season rhubarb that my friend Fred gifted me.

First off, though, I wanted to add the few cucumbers I picked this morning to the ones in the refrigerator crisper and put up another couple of pints of pickles.


Same with the tomatoes. I figure I have enough now for a couple of jars of diced and a couple of the ones in the crisper are starting to go soft, so I will definitely get to that tomorrow.

While I was looking up the instructions for canning plums in very light syrup, on a whim I flipped through my jam recipes to see if there was anything plummy that might strike my fancy. And indeed there was! This one for Plum Jam with Star Anise sounded so simple and good I just had to try it. It calls for a pound of plums and the 3 liter basket I bought gave about 2 1/2 pounds so I thought I would try a batch of jam and put up the remaining 1 1/2 pounds in very light syrup.


So, tomatoes forgotten for the moment, I set about prepping the plums. I weighed out a pound of plums for the jam, then cut them in half, dug out the pit and chopped the fruit into small pieces.


Three quarters of a cup of granulated sugar and 3 star anise are added to the chopped plums then mixed well and set aside to macerate for an hour or so to let the star anise infuse the mixture.

I then pitted the remaining plums and cut them into quarters.


One pound of pitted and chopped plums macerating in 3/4 cup white sugar and 3 star anise on the right ready for jamming and 1 1/2 pounds of pitted and quartered plums on the left ready to be canned in very light syrup. After an hour of macerating, the star anise has infused the chopped plums and sugar with an exquisite warmth. It's truly a combination worth trying!


The quartered plums are now simmering in a very light syrup which is 1/2 cup white sugar dissolved in 5 cups of water and brought to a boil. I used half of the syrup here for the plums and I allowed the remaining syrup to cool to room temperature before putting it in the fridge in a quart mason jar.


I will use this tomorrow when I do the peaches.


The jam is made in a non-stick frying pan instead of a saucepan so that the wider surface area allows the jam to cook up and set quicker.


I had originally thought I would use 2 jam jars for the jam and 2 pint jars for the plums in syrup. It turned out that I only needed 1 jam jar (on the right in the picture above) for the jam and I had enough plums in syrup left over to fill the other jam jar as well as the 2 pint jars. 

The jam only needed 10 minutes processing whereas the plums in syrup needed 20 minutes, so I put them all into the canner together and then pulled the jam out after 10 minutes and let the rest of the jars boil for an additional 10 minutes.

Tomorrow I will tackle the tomatoes, the peaches and the strawberries and rhubarb.

Sunday, August 7, 2016

Easy Garlic Dill Pickles

There are many wonderful canning recipes out there for dill pickles and I have tried a number of them with great success. However, for this first batch of pickles this year I have decided to take the easier route and use Bernardin's pre-mixed dill pickle mix.


My pickling cucumbers have been coming in one or two at a time, so I've been collecting them over the last few weeks until I finally have enough for a couple of quarts or so of pickles. What you see in the picture above is about 4 pounds of cucumbers and as you'll see I ended up with 3 quarts of pickles.

The first step is prepare the cucumbers by first washing them, then trimming off both ends. It's essential to trim off the blossom end at least as the remains of the blossom contain an enzyme that will cause the pickles to go soft. Actually, the real first step is to prepare a water bath canner and few jars. I'll come back to the jars in a moment.

I decided to cut half the cucumbers into spears and use my mandoline on the other half to cut them lengthwise into sandwich slices.


The next step is to mix up the pickling brine and get it boiling.


This is simply 2 cups of water, 1 cup of white vinegar and 1/4 cup Bernardin's Dill Pickle Mix. Combine in a saucepan and bring to a boil while the water bath canner is heating.

The jars I'm choosing to use are what I suppose could be called "antique" as they have not been made for quite a while now. There are two types -- Crown and Gem -- and both were manufactured in Canada.


The jar on the right is a Gem jar and the one on the left is a Crown. They are similar but their lids are different. Both are glass and require rubber rings to seal. 

The Gem jar lids are closer to the modern snap lids in that the rim of the lid is higher than the center, the rubber ring fits around the underside edge of the lid (much like the sealing gum on the underside of a modern snap lid) and the rubber ring is placed in contact with the rim of the jar and held in position with a metal (in this case, zinc) band. Again, very similar to modern canning jars. By popular demand, since Gem jars are still being used (more so in Western Canada), Bernardin sells snap lids and rings specially to fit them as they are an odd size in between regular jars and wide-mouth jars.

Crown jars are slightly different in that the glass lid is more like a cap with an edge that sits over the rim of the jar so that the rim of the jar is actually inside the lid. The rubber ring is therefore placed around the outside of the jar rim and the glass lid is placed on top of it then secured with the zinc band.

The picture above shows the jars already packed with cucumbers ready for the brine to be added, but before that happened, I gilded the lily a little.


To each jar I added 2 peeled garlic cloves that I lightly bruised under a knife first by pressing down firmly with the heel of my hand just until the clove cracked slightly. I didn't want to smash the cloves, but just crack them a little so they would release their garlicky goodness into the brine.

I also added a pinch each of yellow mustard seed and black peppercorns as well as a sprig of fresh dill from my garden.

Then into the canner for 15 minutes once it was back up to a full boil.


The result:  3 quarts of garlic dill pickles. These need to age for 4-6 weeks for the proper flavour to develop and unfortunately 2 of my 3 jars did not seal, so once cool, I tightened the bands as much as possible and put them in the fridge to to age.  I will treat them as refrigerator pickles as they are not shelf-stable. I am suspecting that I did not properly wipe off the rims before closing the lids as there is more to consider with these lids than the modern snap lids. I should have taken care to make sure that not only the rims of the glass lids were free of any spilt brine, but the surface of the rubber sealing rings as well. I do love the old-fashioned look of the pickles in these jars, but I will take care in future when using them to make sure all surfaces are residue-free so I don't lose any more jars to failed seals.

Sunday, July 31, 2016

Small batch Strawberry Jam and Strawberries in Syrup

It's a very lacklustre sort of day here -- overcast and a bit cool, but still rather muggy, perfect for staying and putting up the strawberries from the farmer's market. Yesterday, I got the strawberries prepared, macerating them in sugar overnight in the refrigerator in two batches --  a small 1-quart batch to be made into jam and a larger 5-quart batch to be preserved in a very light sugar syrup.

Starting with the jam, since it is such a small batch, I figured why waste energy heating up my big water bath canner when a large soup pot would do.


So, placing a round cake rack on the bottom of a soup pot, adding a good splash of white vinegar to keep the pot and the jars clean, adding four of my little round jam jars and their rings, I fill the pot with water and start it heating. Click here for some basics of water bath canning. Or consult a trusted canning guide like those from Ball or Bernardin.


Meanwhile, since this is such a small batch, I will be using the juice and zest of a lemon to provide some pectin, rather than commercial pectin.  In addition, I will add some saved lemon seeds tied up in a small square of cheesecloth to provide an additional pectin boost.


The smaller batch of macerated strawberries are placed in another large pot with an additional 1 cup of sugar (they were macerated in 1 cup of sugar, so this makes a total of 2 cups) and brought to the boil.

As the temperature approaches 220F, the lemon juice, zest and seeds are added. The picture above shows the temperature at 221F, so I was a bit late in adding the lemon. No problem.


After adding the lemon, I turned the heat down to medium-low and let the jam simmer for another 5 minutes before removing the lemon seeds in their cheesecloth.  By this time the jars and rings had been boiling for well over 10 minutes and were therefore sterilised, so I removed them from the canner and I ladled the jam into 3 of them.


Two full jars and another one just over half-filled. The fourth jar was not needed. I put the three jars back in the canner, waited for it to come back up to a full boil and then counted 10 minutes to process. Happily, all three jars pinged to say they had successfully sealed.  I will use up the partially filled jar as soon as possible because, although it sealed successfully and is therefore shelf-stable, with the large amount of open space inside, the quality of the jam will deteriorate quicker than the full jars. Recipe here adapted from Food In Jars.

On to the strawberries in syrup.

Since this is a larger batch, I switched to my large blue enamel canner and got 7 pint jars and their rings heating.

Meanwhile, the Bernardin Guide to Home Preserving describes a "very light syrup" for 7 pint jars as 5 cups of water to 1/2 cup of sugar, which "approximates natural sugar level in most fruits; adds the fewest calories". Since the strawberries had been macerating in 2 cups of sugar, I decided to drain them first and see how much juice I had.


Three cups as it turns out.  With 2 cups of sugar, this is definitely a medium syrup edging toward heavy.


So, to balance, I am diluting the juice with an additional 2 cups of water.  Five cups of juice to 2 cups of sugar still puts it in the medium range and as much as I would prefer a very light syrup, a medium syrup will have to do.


The syrup is brought to a full boil and then the drained strawberries are added to it.  Once the berries and syrup are back up to a boil, I turned down the heat to low and simmered the berries for few minutes longer.

By this time, the jars had been boiling for well over 10 minutes, so were sterilised and ready to go. I removed them to a folded tea towel, took the strawberries off the heat and proceeded to fill the jars. After wiping the rims of the jars, centering the lids, applying the rings and tightening them only to fingertip-tight, I placed the jars back in the canner, waited for it to return to boiling and then counted 20 minutes processing time.

This is known as the "hot pack" method where the food to be canned (usually fruit, including tomatoes) is heated together with the canning liquid to boiling and then ladled into hot jars. This is the preferred method for fruit since fruit is very porous and contains a lot of air which should be removed to prevent discolouration and keep flavour at its peak for as long as possible.

"Raw (or cold) pack" refers to packing raw food into hot, sterilised jars, then filling the jars with boiling canning liquid. The raw pack method is especially suited for making pickles.


Like tomatoes, you can see that the strawberries have congregated at the tops of the jars leaving clear juice at the bottom. Once the jars have cooled, a gentle shake should re-incorporate the fruit with the juice. You can also see that, despite the hot-pack method, the strawberries have lost a lot of their colour as it has been leached out into the juice. This in no way affects the flavour.

The result:  6 pints of strawberries in syrup
                   3 jars of strawberry jam

In another of those rare occurrences for me, the jar of strawberries front and centre in the picture above did not seal, so I will be having them over yogourt for breakfast in the next few days. Yay!

Update: August, 5, 2016 -- I have been having that unsealed jar of strawberries over yogourt for breakfast the past couple of mornings and I have noticed that over time, some of the colour seems to return to the strawberries so they are not quite so pale and anemic looking as they appear in the picture above. Regardless, they are still mighty tasty and will be a real treat to have in the middle of winter!